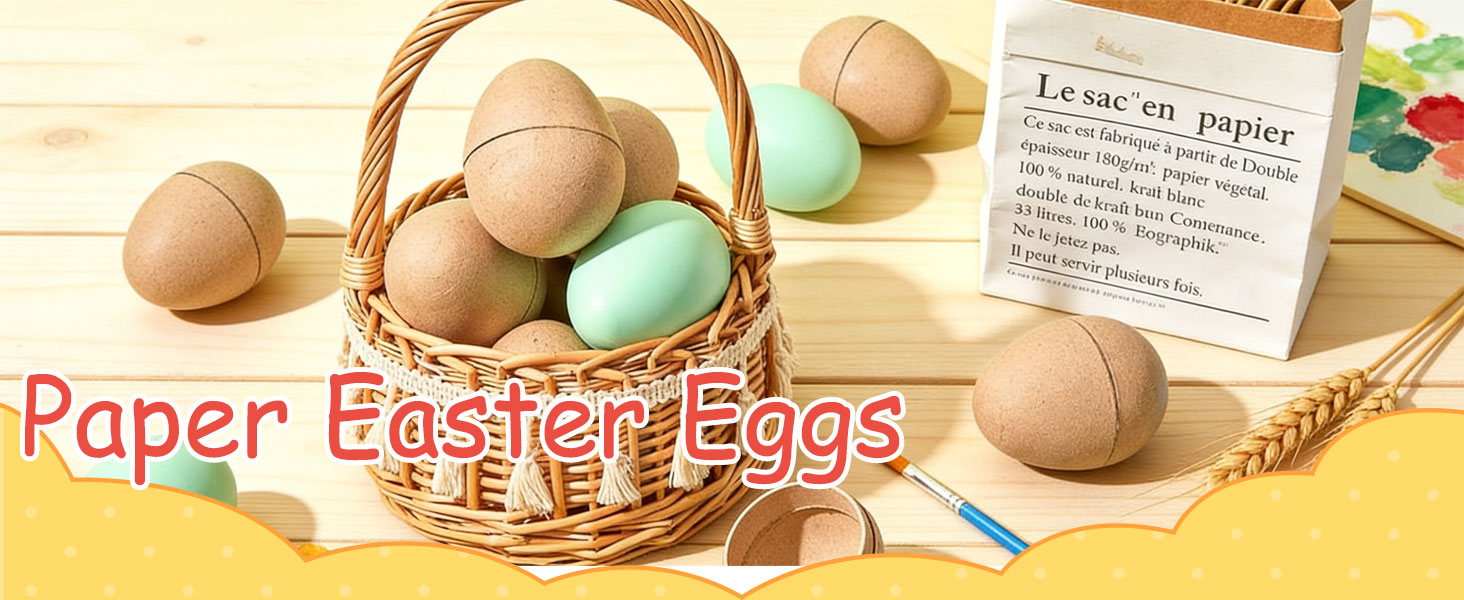
Paper Mache Eggs: Paintable Easter Crafts for Every Creative Table
Paper mache eggs are one of those rare craft supplies that feel simple at first glance and then open up a whole afternoon of possibilities. They are lightweight, sturdy enough for young hands, and smooth enough to paint, dye, decoupage, or embellish. Whether you are planning a classroom Easter activity, a quiet family craft session, or a handmade holiday display, paintable Easter eggs give you a blank canvas in a familiar seasonal shape.
Why Paper Mache Eggs Work So Well for Crafts
Real eggs are delicate, messy to hollow, and unpredictable when children are involved. Paper mache eggs solve most of those problems. They hold paint beautifully, accept glue and glitter, and can be handled without constant worry about cracks. For anyone searching for reliable Easter eggs for crafts, paper mache offers a practical balance between tradition and durability.
They are also wonderfully forgiving. If a brush slips, you can paint over it. If a pattern feels too plain, you can add dots, stripes, or gold accents. The shape is classic, but the finish is entirely up to you.
Start with the Right Craft Supplies
Before the first brush touches the egg, set up a simple workstation. A well-prepared table keeps the project enjoyable and makes cleanup much easier.
- Paper mache eggs in the size and quantity you need.
- Acrylic paint, tempera paint, or egg dye for a softer look.
- Small and medium paintbrushes, plus sponge brushes for texture.
- Paper plates or a palette for mixing colors.
- Newspaper, kraft paper, or a washable tablecloth.
- Aprons or old shirts for young crafters.
- Optional extras: glitter, stickers, washi tape, ribbon, and decoupage glue.
Prepare the Surface Before Painting
Most paper mache eggs are ready to paint straight from the package, but a quick check helps. Wipe away dust with a dry cloth. If the surface feels rough, a light sanding with fine-grit sandpaper can smooth it. For a more polished result, apply a thin coat of white acrylic or gesso and let it dry completely. This step is especially useful if you plan to use light pastel colors.
Craft tip: Place each egg on a small paper cup or bottle cap while painting. It keeps the egg steady and prevents wet paint from smudging on the table.
Easy Painting Ideas for Paintable Easter Eggs
1. Soft Pastel Wash
Mix a small amount of acrylic paint with water for a gentle, translucent finish. Brush it over the egg in loose strokes, allowing some of the natural paper mache texture to show through. Pastel washes look lovely in spring arrangements and are easy for beginners to master.
2. Bold Geometric Patterns
Use thin tape to create stripes, triangles, or checkerboard sections. Paint each area in a different color, then remove the tape while the paint is still slightly tacky. The result is crisp, modern, and surprisingly professional. This technique works especially well with bright paintable Easter eggs intended for a holiday mantel or entryway bowl.
3. Nature-Inspired Eggs
Paint eggs in moss green, sky blue, clay, and cream. Add tiny leaves with a fine brush, or press small flowers and ferns onto the surface with decoupage glue. A light coat of matte varnish will protect the details and give the eggs a finished, handmade look.
Creative Ways to Use Finished Paper Mache Eggs
- Easter table scatter: Arrange painted eggs around candles, fresh flowers, or a centerpiece basket.
- Name place cards: Write each guest’s name on a small tag and tie it to an egg with twine.
- Hanging ornaments: Thread a ribbon through the top and hang eggs from a spring branch.
- Classroom exchanges: Let children paint one egg each and trade them as a holiday keepsake.
- Gift toppers: Attach a painted egg to a wrapped present for a handmade touch.
Keep the Craft Session Calm and Organized
Group supplies by color and keep a damp cloth nearby for quick hand wiping. If children are participating, set out one or two eggs per child rather than a large pile; too many choices can overwhelm younger crafters. Encourage them to name their color mixes and experiment on paper first. The goal is not perfection but a pleasant, creative rhythm.
Finishing, Displaying, and Storing Your Easter Eggs
Let painted eggs dry completely before adding ribbons, glitter, or varnish. A clear acrylic sealer in matte or satin finish will help protect the surface from dust and handling. Store finished eggs in a divided craft box or a padded basket, with tissue paper between layers. Avoid direct sunlight and damp storage areas, especially if you used natural dyes or water-based paint.
With a little preparation, paper mache eggs become more than a seasonal craft. They become small pieces of handmade decor that can be reused year after year, repainted when inspiration strikes, and shared with anyone who enjoys a creative Easter project.
Final Thoughts
From simple pastel washes to detailed nature motifs, Easter eggs for crafts offer a flexible way to celebrate the season. Paper mache eggs are affordable, forgiving, and ready for almost any paint, glue, or embellishment you can imagine. Set out the supplies, choose a palette, and let each paintable Easter egg become a tiny, colorful expression of spring.
Comments are closed